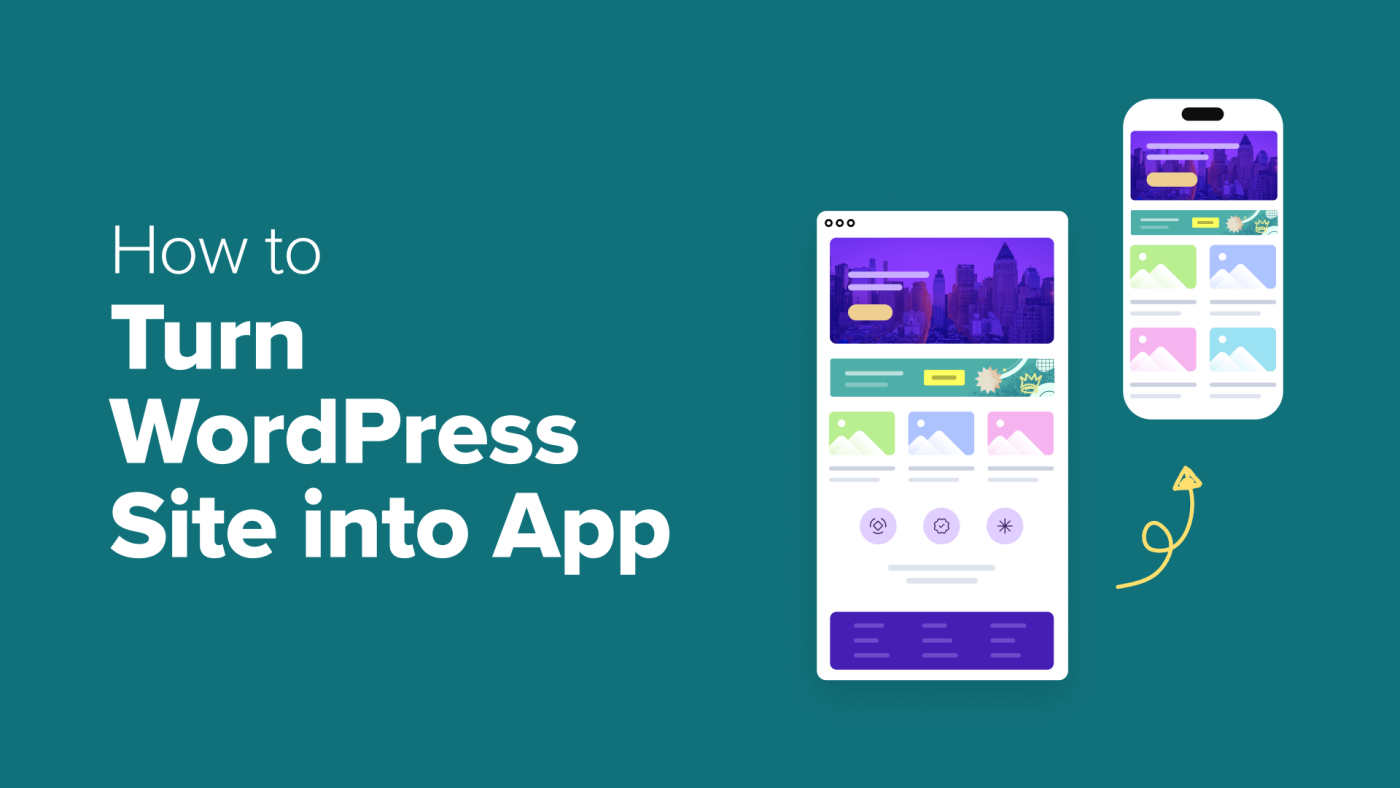
If your WordPress community is struggling to keep people engaged, the culprit is often friction: users don’t want to open a browser every time. I converted my WordPress community into native iOS and Android apps with BuddyBoss and had a working app configured and ready to submit in about an hour. It included push notifications, private messaging, and the community features members expect — and engagement rose almost immediately. This guide walks you through turning a WordPress site into a mobile app with no coding required.
Quick summary: what you need
– A WordPress community site (forums, memberships, or eLearning).
– A BuddyBoss App subscription to generate native iOS and Android builds.
Other approaches exist — progressive web apps (PWAs) or fully native development — but BuddyBoss is usually the fastest and most beginner-friendly for community sites.
Why convert your community to an app?
Mobile apps make staying connected effortless. Key benefits:
– Push notifications reach members instantly.
– Limited offline access lets people read content without always being online.
– In-app sharing and personalized experiences increase retention.
If your activity is low, an app can significantly boost engagement and loyalty.
Options for building a WordPress app
– BuddyBoss App: subscription-based, easiest for communities, memberships, and courses.
– PWA: low cost but fewer store features and limited discoverability.
– Native development: fully custom but expensive and time-consuming.
Before you begin: checklist and costs
What you’ll need:
– Reliable WordPress hosting.
– A BuddyBoss-built WordPress community (Platform + theme recommended).
– BuddyBoss App subscription.
– Apple Developer account ($99/year).
– Google Play Developer account ($25 one-time).
Example costs: BuddyBoss Platform ~ $299/yr, hosting ~$29/mo, BuddyBoss App ~$79/mo — typically far cheaper than hiring developers to build native apps.
Step-by-step: build your mobile app with BuddyBoss
Step 1 — Install and connect the BuddyBoss App plugin
– Buy the BuddyBoss App subscription, download the plugin, then install and activate it on your WordPress site.
– In WordPress, go to BuddyBoss App » Connect and paste the App ID and App Key from your BuddyBoss dashboard (Apps » Manage).
– In Configure, set your app name as it will appear in the app stores.
Step 2 — iOS setup (Apple Developer)
(If you only want Android, you can skip this.)
– Create an Apple Developer account if you don’t already have one.
– In BuddyBoss App » Configure » iOS, enter your Issuer ID, Key ID, and upload the API key you generate in App Store Connect (Users and Access » Keys).
– Set up your Bundle ID, signing certificates, and provisioning profiles. BuddyBoss provides video help in the dashboard.
– In App Store Connect, create the app record, add the Bundle ID, and generate any app-specific shared secrets required for subscriptions.
– Register any iOS devices you’ll use for testing.
Step 3 — Android setup (Google Play Console)
– In BuddyBoss, open Android Settings and prepare to upload your Service Account key.
– In Google Play Console, create your app (name, default language, pricing = Free).
– Under Settings » API Access, create a linked Google Cloud project.
– In Google Cloud Console, create a Service Account, assign an appropriate role (Owner or release manager), and create a JSON key. Download it.
– Upload that JSON to BuddyBoss’s Service Account Key field.
– Add your Application ID (reverse domain format like com.yourcompany.yourapp).
– Generate a KeyStore via BuddyBoss if needed, download it, and upload it back so you can push updates on Google Play.
Step 4 — Configure Firebase for push notifications
– Create a Firebase project and enable Cloud Messaging.
– Copy the Firebase Server Key and paste it into BuddyBoss Firebase settings.
– Create four Firebase apps: production and test for Android and iOS. Make sure package names and Bundle IDs match exactly what you set in developer consoles.
– Download the config files for each Firebase app and upload them into BuddyBoss.
– Upload your iOS APNs authentication key (from Apple Developer) to Firebase so Apple devices receive push notifications.
Pro tip: Exact matching of bundle IDs and package names is crucial to avoid build or notification errors.
Step 5 — App settings and notifications
– In BuddyBoss App » Settings: enable registration and choose your registration page, confirmation emails, and privacy options (for member-only apps).
– Enable feedback, bug reports, and app rating prompts; set the email that will receive user feedback.
– Turn on the Smart Banner to promote the app on your mobile website.
– Configure which events trigger push notifications (mentions, replies, group invites, etc.).
Step 6 — Branding and design
– Upload app logos for launch, login, and home screens. Keep branding consistent with your site.
– Set color palette (backgrounds, buttons, accents) and typography (fonts and sizes).
– Configure primary navigation (Top Bar) and the More screen to expose Home, Profile, Activity, Forums, Courses, and other key areas.
Step 7 — Build app pages
– Use BuddyBoss App » App Pages » Add New to create pages with the WordPress block editor.
– Use BuddyBoss blocks (Courses, Discussions, Forums, Groups, Members, Activity, Notifications) alongside regular WordPress blocks to assemble screens.
– Publish each page when ready.
Step 8 — Build and test
– Go to BuddyBoss App » Build » Request Build and choose iOS and Android, selecting Release and Test builds to produce four builds (test and production for both platforms).
– When builds are ready, install a test build via the QR code BuddyBoss provides.
Checklist for testing:
– Registration and login work smoothly.
– Activity feed, forums, groups, and courses load correctly.
– Push notifications arrive.
– Branding, navigation, and links function as expected.
Step 9 — Submit to app stores
– In BuddyBoss App » Build » Publish select the release build and upload it to App Store Connect and Google Play.
– Prepare store listings: descriptions, screenshots (use device mockups), keywords, and privacy details.
– App reviews usually take 2–7 days. If rejected, follow reviewer feedback, make fixes, and resubmit.
Keeping your app updated
– Content changes on WordPress (posts, courses, forum activity) sync instantly — no rebuild required.
– Structural changes (new screens, major design changes, added native features) require a new build and resubmission to the stores.
FAQs
– How long does it take? Initial setup can take about an hour; store reviews add a few days.
– Does BuddyBoss require a specific theme? It works best with the BuddyBoss theme; other themes can work but may miss features.
– What happens if I cancel BuddyBoss? The app will no longer receive updates or new builds. Existing installs continue to function.
– Do I need coding skills? No. BuddyBoss handles the native build process; you mainly configure accounts and settings.
Conclusion
Using BuddyBoss to convert a WordPress community into native mobile apps is a cost-effective, fast way to boost engagement without hiring developers. With the right hosting, developer accounts, and Firebase setup, you can move from site to app quickly and give your members a more immediate, sticky experience.